How to Build a Garden Wall (Natural Stone Walling Guide)
Introduction
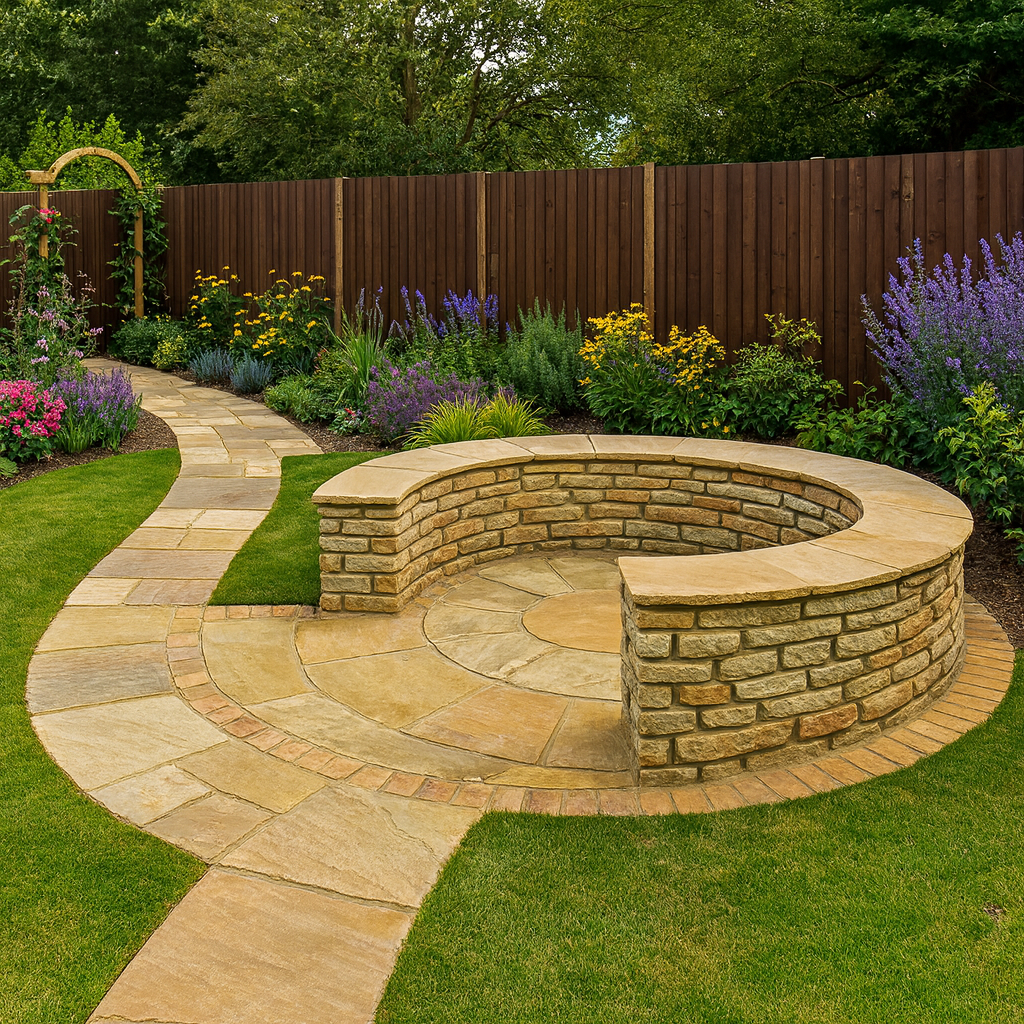
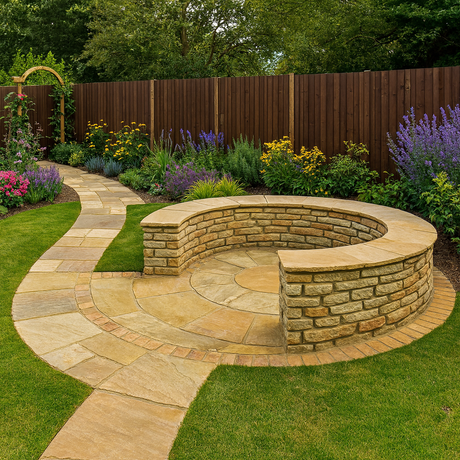
Primethorpe’s natural stone walling is a premium feature for anyone looking to create a stand-out garden. It’s stylish, durable, and brings a sense of luxury to your space while still being practical and permanent. Unlike breeze blocks or standard clay bricks, natural stone has character, texture, and a timeless quality that elevates any outdoor design.
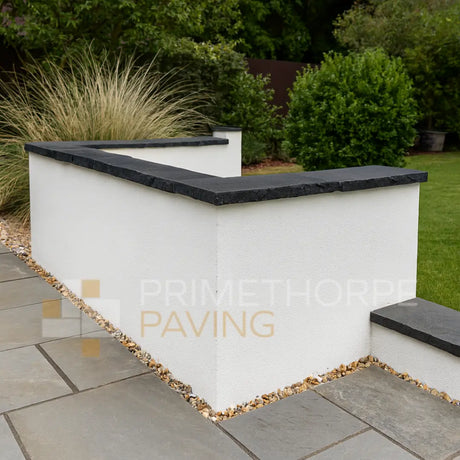
Walling stone (our definition) refers to natural stone blocks cut in various sizes to build a wall. Coping stones sit along the top of the wall, both decorative and functional, preventing water from seeping into the structure. Pier caps work the same way, but are designed for pillars rather than straight runs of wall.
The result is a strong, elegant feature that zones your garden, adds privacy, or creates raised areas, all while looking a cut above the standard finishes you’ll see in most neighbourhoods.

Looking for Ideas? View Our Collections Here:
The Walling Stone Installation Guide:
Step 1: Plan & Design
Before you start building, plan the wall:
-
Decide on layout & zones – Most garden walls are for zoning: separating seating areas, creating raised beds, or adding privacy.
-
Choose the height – Typical garden walls range between 0.5 m (dwarf walls) and 1m. We recommend around 1 m for a wall that feels striking, cozy, and functional.
-
Pick your material – Most of our walling is sandstone or limestone. Performance-wise, they’re identical; your choice is down to colour preference.
-
Don’t forget the finish – Browse our Coping Stones and Pier Caps at the same time. They’re not just decorative extras - they protect your wall from rain damage.
At this stage, make a sketch or mark out the line of the wall with string. Good planning makes building much easier.
View Our Collections Here:
Step 2: Prepare the Foundations
Every strong wall starts with solid foundations. Skimp here, and your wall won’t last.
-
Mark out the trench – Use stakes and a string line to define the wall’s path.
-
Excavate – Dig a trench about 300 mm wide. For a small garden wall, aim for 150 mm deep; go deeper for taller walls.
-
Hardcore base – Fill with MOT Type 1 hardcore (compacted with a hand tamper or wacker plate). This spreads the load.
-
Concrete footing – Pour a 100–150 mm layer of concrete on top of the hardcore. Smooth it out and let it cure.
Tip: For small decorative walls, you can often pour the footing one day and start building the next. For heavier, taller walls, let the footing cure fully for several days.
Common Pitfalls When Digging Out:
- Fix: For small garden walls, excavate ~150 mm minimum; go deeper for taller walls.
- Keep trench ~300 mm wide to support the wall and any coping overhang.
- Fix: Use MOT Type 1 and compact in layers with a wacker plate or hand tamper.
- Aim for a firm, level base before pouring concrete.
- Fix: Pour 100–150 mm of concrete over compacted hardcore; level and let it cure.
- Allow extra curing time for heavier or taller walls.
- Fix: Mix ~4:1 (sand:cement) to a workable—not runny—consistency.
- Butter stone ends and bed on a consistent layer for even courses.
- Fix: Build corners/piers first; run a tight string line each course.
- Check level frequently for straight, even courses.
Step 3: Build the Walling Stone
With foundations ready, it’s time to lay the stones.
-
Mix mortar – A 4:1 sand-to-cement mix is ideal.
-
Corners first – Build the corners or piers first; they act as guides for the rest of the wall.
-
Lay the first course – Spread mortar on the footing, butter the ends of each stone, and set them in place. Use a mallet and spirit level to get them flat.
-
Stagger joints – Just like bricklaying, offset joints between courses for strength and appearance.
-
Check alignment – Run a string line along each course and check regularly with a spirit level.
Don’t panic about perfection - natural stone walls are meant to have texture and variation. The key is keeping it level and stable.

Step 4: Add Coping Stones
Coping stones finish the wall and protect it from rain damage.
-
Lay on mortar – Just like bricks, spread mortar along the top course and bed the coping stones.
-
Overhang – Leave a 20–30 mm overhang on both sides.
-
Bullnose coping – If your coping has a rounded bullnose edge, make sure it has drip grooves on the underside. These grooves break water tension so rain doesn’t creep underneath into the wall.
-
Check levels – Use a spirit level across the whole run for a clean finish.
Handy Sizing Guide:
Not sure which size you need? Use our sizing guide below.
| Wall width (approx.) | Recommended coping width | Typical overhang (each side) |
|---|---|---|
| 100–115 mm (single skin) | 140–150 mm | ~20 mm |
| 140–150 mm | 180–200 mm | ~20–25 mm |
| 200–230 mm (wider cores/piers) | 260–300 mm | ~25–35 mm |
Tip: Bullnose copings should include drip grooves on the underside to shed rainwater away from the wall.
Step 5: Install Pier Caps
If you’re building piers or pillars, pier caps finish them off in style. They work exactly like copings: sit them on a mortar bed, make sure they overhang slightly, and check they’re centred and level.
Browse our Pier Caps collection for sizes and finishes.

Step 6: Finishing Touches & Aftercare
-
Keep it clean – Mortar stains stone easily, especially on darker copings. Brush off spills as you work.
-
Curing time – Allow at least 7 days before heavy use. Walls are decorative, but don’t let people sit on them too soon.
-
Maintenance – Sweep occasionally, and re-point joints if cracks appear. Use weed killer preventatively to stop growth between stones.
Done right, a natural stone wall will last for decades with little upkeep.
Finishing Touches & Aftercare
- Keep it clean: Wipe/brush mortar as you work to avoid staining, especially on darker copings.
- Curing time: Allow ~7 days before heavy use - don’t sit/lean on fresh walls.
- Maintenance: Sweep occasionally; re-point any cracks; use preventative weed control between stones.
Final Thoughts
Building a garden wall with natural stone is one of the best ways to add style, function, and a sense of luxury to your outdoor space. With solid foundations, careful stone placement, and protective finishing with copings and pier caps, you’ll have a feature that looks premium and stands the test of time.
Bring Your Garden Wall to Life
Build a premium, long-lasting feature with natural stone walling, matching copings, and pier caps - delivered nationwide.


