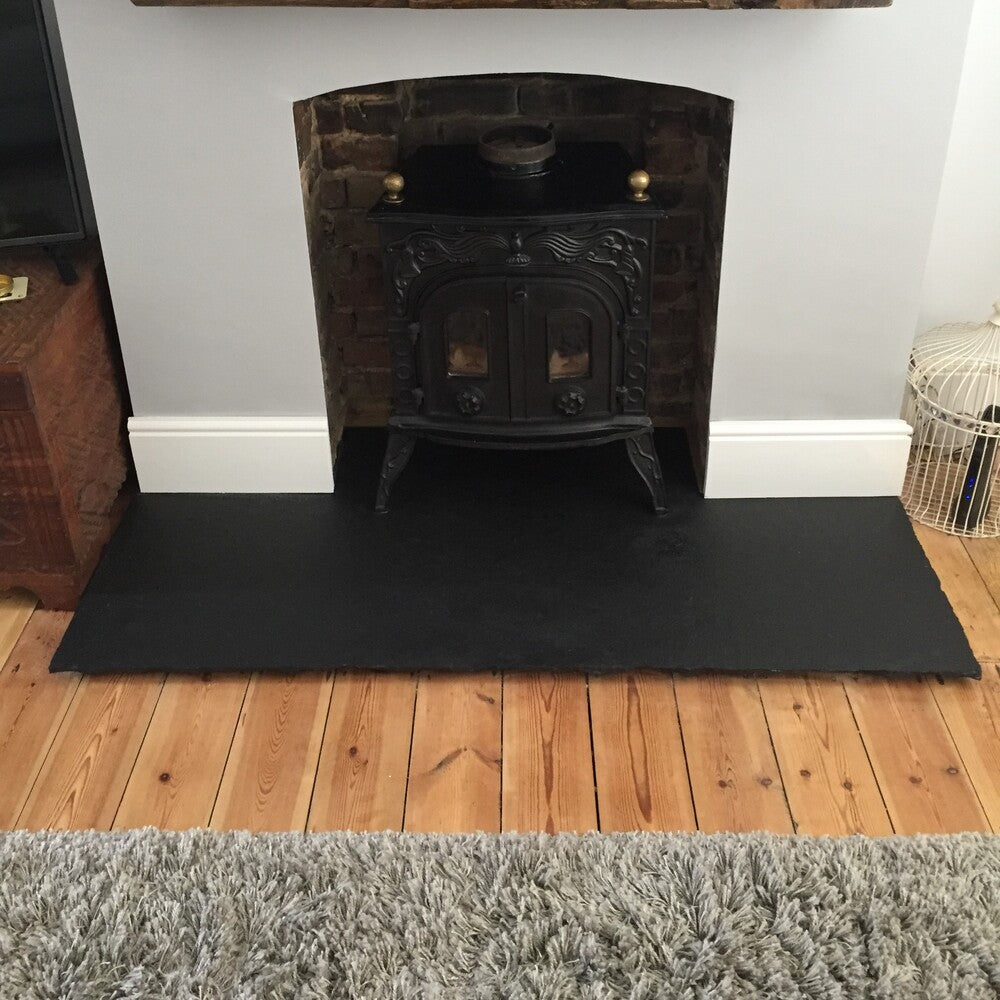
Properly securing your hearth is essential for ensuring its stability and longevity. While the weight of the hearth itself provides some stability, using the right adhesive techniques will keep it firmly in place. At Primethorpe Paving, we’re here to guide you through the process. Let’s dive into how you can effectively secure your hearth with adhesive.
Preparing Your Hearth
Tools You'll Need
Before you begin, gather the following tools:
- Simple Tile Adhesive: Suitable for securing the hearth to the base.
- Flexible Mastic: For filling expansion gaps.
- Caulking Gun: If required for applying the adhesive and mastic.
- Level: To ensure the hearth sits evenly.
- Cleaning Supplies: To prepare the surface and clean up any adhesive spills.
Clearing the Space
A clean, level surface is critical for successful adhesion.
- Remove Obstructions: Clear away any debris, dust, or objects that might interfere with the adhesion process.
- Check for Level: Ensure the surface is level to avoid an uneven hearth.
Proper preparation ensures that the hearth adheres securely and sits level, preventing future issues.

Proper Adhesion Techniques
Securing your hearth properly is essential for its stability and longevity. Here’s how you can ensure your hearth stays firmly in place using the right adhesive techniques.
Understanding the Weight of the Hearth
The weight of the hearth itself naturally helps keep it in place. Hearths are heavy and unlikely to move on their own, but additional adhesion provides extra stability and security. This extra step prevents any potential shifting and ensures the hearth remains securely in place for years to come.
Applying Tile Adhesive
Choosing the right adhesive is crucial. A simple tile adhesive works well for securing the hearth to the base. When applying the adhesive, ensure you spread an even layer across the entire base surface. This even application is key to avoiding gaps that could weaken the bond between the hearth and the base. Proper coverage ensures that the hearth adheres uniformly, providing a solid and secure attachment, and the hearth is level and ready for a fire.
Positioning the Hearth
Once the adhesive is applied, carefully place the hearth on top. It’s important to align the hearth correctly to ensure it sits properly on the adhesive. Given the weight of the hearth, you may need assistance to position it accurately. Ensuring the hearth is properly positioned on the adhesive helps maintain stability and prevents any future movement.
Using Flexible Mastic for Expansion Gaps
In addition to the tile adhesive, using flexible mastic around the edges of the hearth is essential for filling expansion gaps. These gaps accommodate any natural movement or expansion that may occur over time or while in use. By filling these gaps with flexible mastic, you ensure that the hearth remains stable and any minor movements are absorbed without causing damage.
Final Checks
After positioning the hearth and applying the adhesive and mastic, it’s crucial to perform final checks to ensure everything is set correctly. Use a level to verify that the hearth is sitting evenly. A level hearth is important for both functional and aesthetic reasons. Once everything is in place, allow the adhesive to set according to the manufacturer’s instructions. Avoid using the hearth during this curing period to ensure a strong and lasting bond.

Common Mistakes to Avoid
Using Incorrect Adhesive
One of the most critical mistakes is using the wrong type of adhesive. Not all adhesives are suitable for hearth installations. It’s essential to use a high-quality, heat-resistant tile adhesive specifically designed for stone applications. Using an inappropriate adhesive can lead to a weak bond that might fail over time, especially under the heat from your hearth.
Uneven Adhesive Application
Another common error is applying the adhesive unevenly. Uneven adhesive application can create gaps and air pockets, which weaken the overall bond between the hearth and the base. To avoid this, make sure to spread the adhesive in a consistent, even layer across the entire base surface. Use a notched trowel to help distribute the adhesive evenly and ensure full coverage.
Ignoring Expansion Gaps
Expansion gaps are crucial for accommodating any natural movement or expansion that occurs due to temperature changes. Ignoring these gaps can lead to cracking and instability over time. Always apply flexible mastic around the edges of the hearth to fill these gaps properly. This flexibility allows the hearth to expand and contract without causing damage or compromising its stability.
Additional Tips for Success
For a flawless hearth installation, here are some additional tips that can help you achieve a secure and lasting bond.
Tips for Tricky Installations
If you’re dealing with an irregular space or a particularly heavy hearth, consider getting professional assistance. Tricky installations can benefit from the expertise and tools that professionals bring, ensuring that your hearth is installed perfectly and securely. Don’t hesitate to seek help if you’re unsure about any aspect of the installation process.
Ensuring Proper Ventilation During Adhesive Curing
Proper ventilation is essential when using adhesives, as it helps dissipate fumes and speeds up the curing process. Make sure the area is well-ventilated during and after applying the adhesive. Open windows and doors or use fans to circulate air and ensure a safe and effective curing process.
Seek Professional Help if Needed
If at any point you feel unsure or encounter difficulties, it’s always a good idea to seek professional help. Expert installers can provide the guidance and assistance you need to ensure your hearth is installed correctly. They can handle complex situations and ensure that every aspect of the installation is done to the highest standards.

Conclusion
Securing your hearth properly is crucial for its stability and longevity. By following these steps, you’ll ensure a secure and level installation that enhances your space.


